标签归档:Qt

Qt5常用依赖库

1.核心库(必须添加的)
Qt5Core.dll
Qt5Gui.dll
Qt5Widgets.dll

2.网络库
Qt5Network.dll

2.ICU(International Component for Unicode,Unicode工具)依赖库
icudt53.dll
icuin53.dll
icuuc53.dll

3.插件库(平台、图片处理、数据库…)
bearer目录(网络编程需要添加)
imageformats目录(图片处理需要添加)
platforms目录(windows下运行必须添加)

4.EGL依赖库
libEGL.dll
libGLESv2.dll

5.mingw依赖库
libstdc++-6.dll
libgcc_s_dw2-1.dll
libwinpthread-1.dll

6.其他(QtCreator\bin目录下,https编程需要添加)
ssleay32.dll
libeay32.dll

Linux Busybox Qt Grub2 开发环境与配置整套解决方案

VirtualSys_x86_Linux_Ubuntu_14.04_CN-2014-12-07-11-12-46

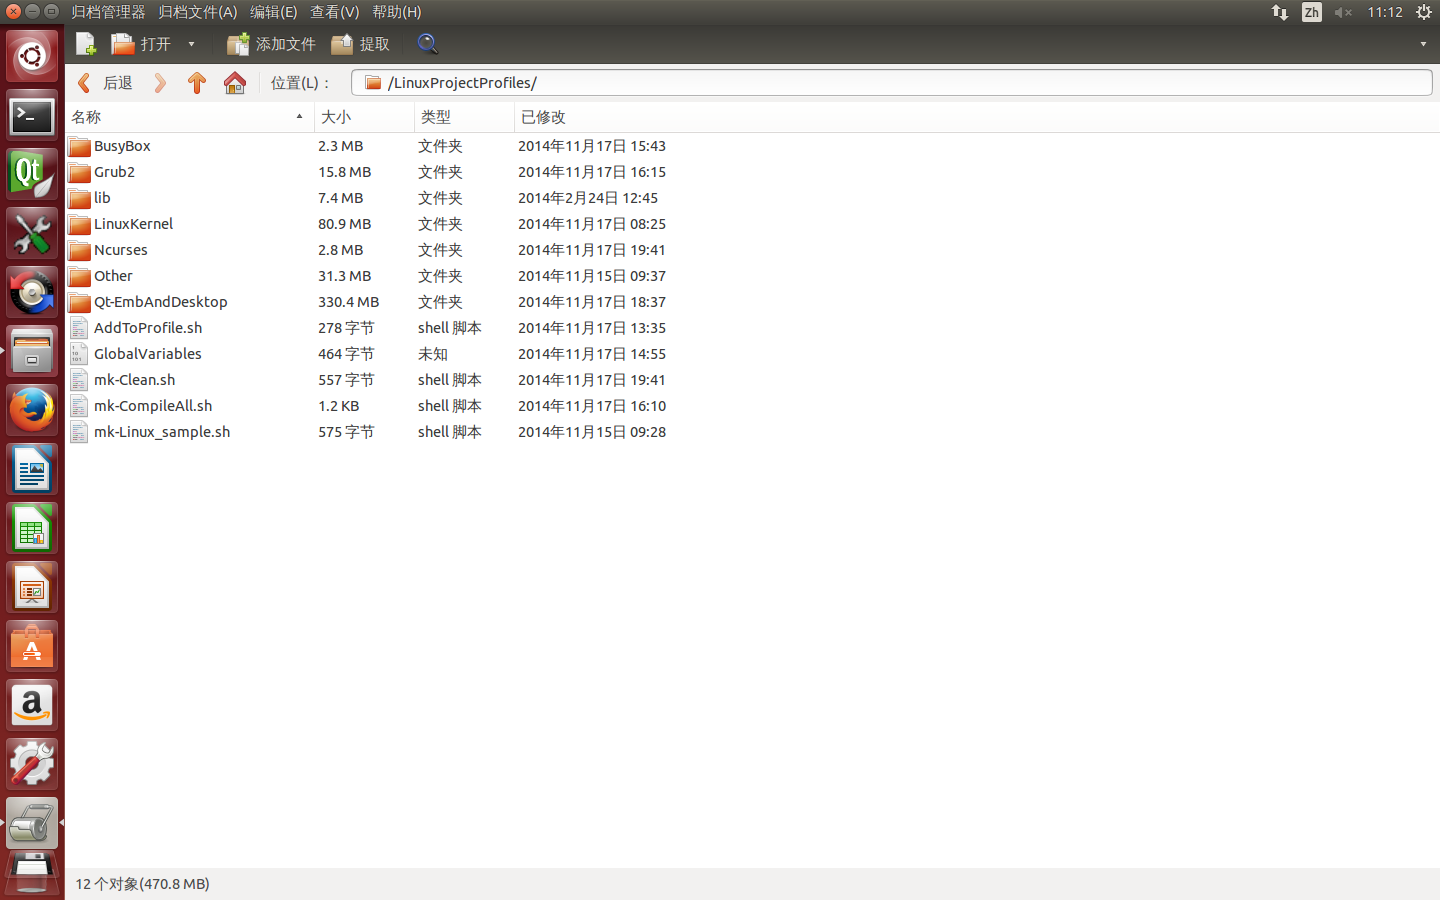
Linux项目说明


修正日期:2014/11/25

目录

项目要求... 3

Linux内核编译... 3

目录内容介绍(LinuxProject/LinuxKernel/) 3

内核配置中需要注意... 3

Qt框架... 6

目录内容介绍(LinuxProject/ Qt-EmbAndDesktop/) 6

Qt开发环境配置... 7

Qt版本添加... 7

LinuxProjectQt/Desktop版本添加... 7

LinuxProjectQt/E版本添加... 8

Qt构建套件添加... 9

LinuxProjectQt/Desktop版本添加... 9

LinuxProjectQt/E版本添加... 10

Qt Creator开发环境添加“帮助”(开发文档)... 10

Grub2(支持“安全启动”)... 12

目录内容介绍(LinuxProject/Grub2/) 12

统BIOS创建的目录结构... 12

EFI BIOS创建的目录结构... 13

BusyBox工具... 13

目录内容介绍(LinuxProject/BusyBox/) 13

库... 14

Glib. 14

目录内容介绍(LinuxProject/lib/glib/) 14

Libiconv. 14

目录内容介绍(LinuxProject/lib/libiconv/) 14

其它介绍... 14

Linux项目根目录脚本介绍... 14

Other目录文件介绍... 17

给本Linux项目传递参数... 18

与操作系统结合... 18

传统BIOS引导方式(LegacyBIOSBoot)... 18

EFI BIOS引导方式(EFIBIOSBoot)... 19

自动选择内核... 19

注意事项... 20

其它... 21

命令行编译Qt实例配置... 21

环境变量... 21

测试环境变量设置是否生效... 22

进入需要编译的程序目录(程序名hello.cpp)... 22

使嵌入式Qt支持中文字体的方法... 22

修改Qt Framebuffer模式背景(从png图片载入当做背景)... 22

判断当前Qt库是否为嵌入式版本... 23

Qt Creator IDE字体样式... 23

Qt应用程序“国际化”... 23

其它约定... 24

SVN客户端工具PySVN安装命令... 24

SVN命令行工具安装命令... 24

Qt X11风格样式设置... 24

用到的lib库... 27

注释... 28


项目要求

操作系统版本

Linux Ubuntu 14.04 x86


其它代码版本

Linux 内核:linux-3.17.4

Qt框架:qt-everywhere-opensource-src-4.8.6

Grub2:grub-2.02~beta2

BusyBox工具:busybox-1.22.1


Glib库:glib-2.6.6

Libiconv库:libiconv-1.14


开发环境

Qt Creator 3.2.2


Linux内核编译

编译x86与x86_64版本的内核,x86内核屏蔽EFI平台启动选项,x86_64内核支持EFI平台启动。


目录内容介绍(LinuxProject/LinuxKernel/)

linux-3.17.4.tar.xz:Linux内核源代码压缩包

.config - x86:x86 Linux内核配置文件(在Linux默认是隐藏的,如果想查看此文件,需要显示隐藏文件。)

.config - x64:x64 Linux内核配置文件(在Linux默认是隐藏的,如果想查看此文件,需要显示隐藏文件。)

mk-LinuxKernel-all.sh:Linux内核编译脚本文件

NoSimplifyConfig:存放没有精简过的内核配置文件(.config)


编译后在目录中生成:x86与x86_64两个文件夹,分别存放x86与x86_64内核文件,内核文件名为:bzImage。


内核配置中需要注意

。 。。。 。。。 。。。

Qt for Embedded Linux Environment Variables

These environment variables are relevant to Qt for Embedded Linux users.

Variable Description
POINTERCAL_FILE Specifies the file containing the data used to calibrate the pointer device.See also QWSCalibratedMouseHandler and Qt for Embedded Linux Pointer Handling.
QT_ONSCREEN_PAINT If defined, the application will render its widgets directly on screen. The affected regions of the screen will not be modified by the screen driver unless another window with a higher focus requests (parts of) the same region.Setting this environment variable is equivalent to setting the Qt::WA_PaintOnScreen attribute for all the widgets in the application.See also the Qt for Embedded Linux graphics rendering documentation.
QWS_SW_CURSOR If defined, the software mouse cursor is always used (even when using an accelerated driver that supports a hardware cursor).
QWS_DISPLAY Specifies the display type and framebuffer. For example, if the current shell is bash, ksh, zsh or sh:

The valid values for the <driver> argument are LinuxFb, QVFb, VNC, Transformed, Multi and keys identifying custom drivers, and the <display num> argument is used to separate screens that are using the same screen driver and to enable multiple displays (see the Running Qt for Embedded Linux Applications documentation for more details).

The driver specific options are described in the display management documentation.

QWS_SIZE Specifies the size of the Qt for Embedded Linux window which is centered within the screen. For example, if the current shell is bash, ksh, zsh or sh:

QWS_MOUSE_PROTO Specifies the driver for pointer handling. For example, if the current shell is bash, ksh, zsh or sh:

The valid values for the <driver> argument are MouseMan, IntelliMouse, Microsoft, VR41xx, LinuxTP, Yopy. Tslib and keys identifying custom drivers, and the driver specific options are typically a device, e.g., /dev/mouse for mouse devices and/dev/ts for touch panels.

Multiple keyboard drivers can be specified in one go:

Input will be read from all specified drivers. Note that the Vr41xx driver also accepts two optional arguments: press=<value> defining a mouseclick (the default value is 750) and filter=<value> specifying the length of the filter used to eliminate noise (the default length is 3). For example:

See also Qt for Embedded Linux Pointer Handling.

QWS_KEYBOARD Specifies the driver and device for character input. For example, if the current shell is bash, ksh, zsh or sh:

The valid values for the <driver> argument are SL5000, Yopy, VR41xx, TTY, USB and keys identifying custom drivers, and the driver specific options are typically a device, e.g., /dev/tty0.

Multiple keyboard drivers can be specified in one go:

Input will be read from all specified drivers.

See also Qt for Embedded Linux Character Input.

通过qt configure -qconfig进一步裁剪

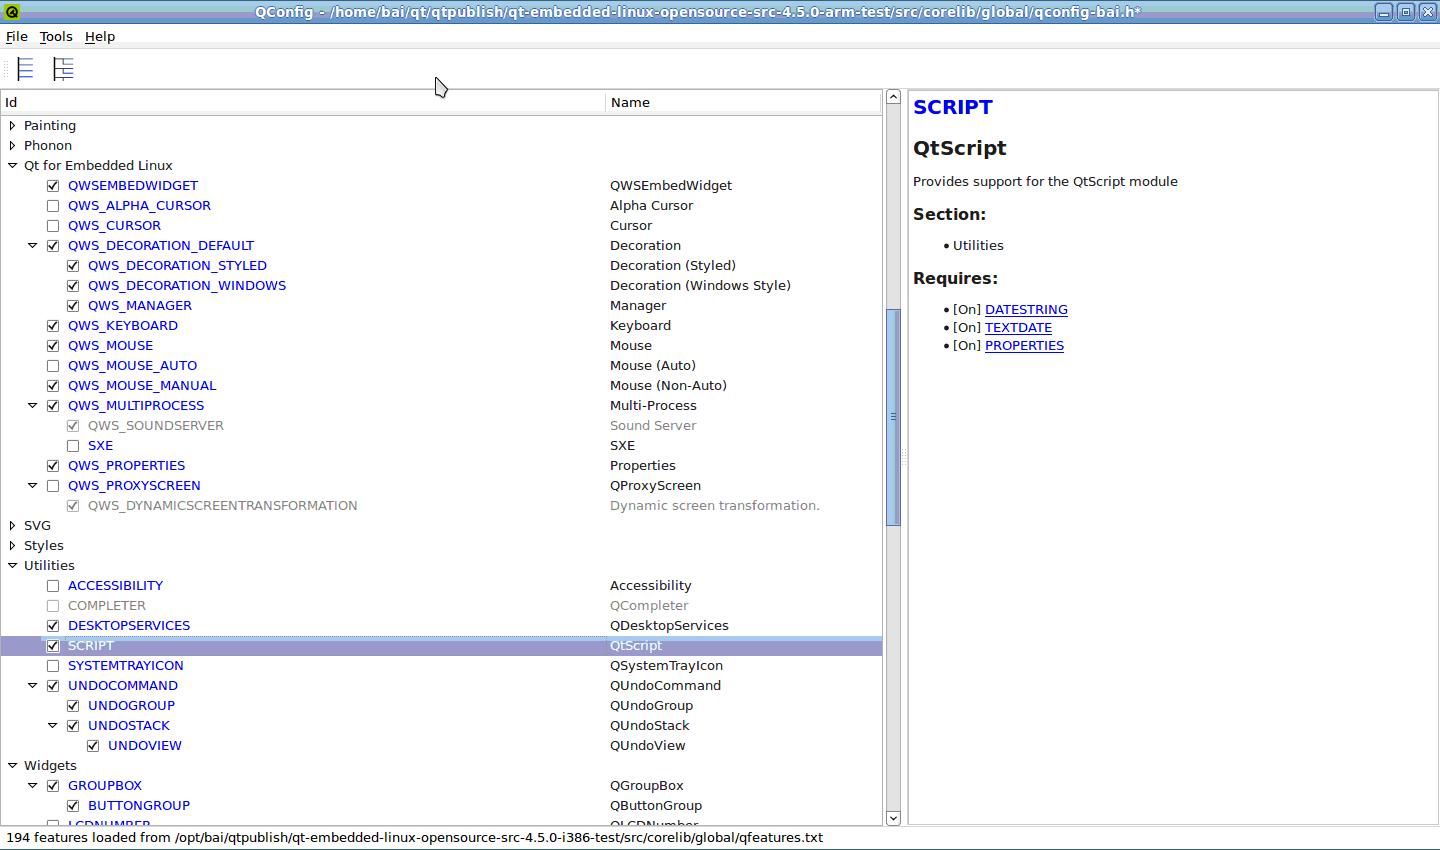
可以通过configure脚本来进行配置,但是有许多可以更进一步的配置不能通过configure脚本,或者配置起来非常麻烦,这时就可以借助qconfig工具来进行配置,把不必要的类裁掉,可以看下图qconfig工具截图。可以精确地控制要哪一个类,不要哪一个类,并且自动解决依赖问题,

1249A7A33E7A08F21FA16E471E722D0659D8F8D3

编辑完毕以后,将自定义的config文件存储到src\corelib\global中,并且以qconfig-*.h格式命名,这样可以在后面的configure脚本中直接使用。比如存储为qconfig-bai.h

那么可以在configure脚本中加入参数: -qconfig bai。

交叉编译ARM版 Qt

       因实际项目需求,需将Qt编译成LINUX-ARM版,以下为整个操作过程,使用Qt编写的程序已在实际开发板上运行,在此贴出,但愿能为需要的朋友提供上帮助。

准备工作:
Linux内核版本:
Linux 2.6.35-22-generic #33-Ubuntu

交叉编译工具:
arm-none-linux-gnueabi 4.4.1

Qt安装包:
qt-everywhere-opensource-src-4.7.3.tar.gz

安装
一.安装交叉编译工具
1.本机使用的交叉编译工具是:arm-none-linux-gnueabi

2.添加交叉编译工具的路径至相应环境变量中:
export PATH=/usr/CodeSourcery/Sourcery_G++_Lite/bin/:$PATH

3.通过以下命令查看arm-none-linux-gnueabi编译工具是否安装成功
a. 执行:arm-none-linux-gnueabi-g++ -v
b. 执行:arm-none-linux-gnueabi-gcc -v
如果以上两步都能正确打印对应的版本信息,则表明arm-none-linux-gnueabi编译工具
已安装成功!

二.交叉编译ARM版Qt
1.下载Qt源码包 qt-everywhere-opensource-src-4.7.3.tar.gz;

2.解压Qt源码包
tar -xvfz qt-everywhere-opensource-src-4.7.3.tar.gz

3.修改文件: /usr/local/qt-4.7.3-linux-arm/mkspecs/qws/linux-arm-g++/qmake.conf

# 设置交叉编译工具链:
# 本项目使用的交叉编译工具是 arm-none-linux-gnueabi-g++
#
QMAKE_CC                         = arm-none-linux-gnueabi-gcc
QMAKE_CXX                      = arm-none-linux-gnueabi-g++
QMAKE_LINK                      = arm-none-linux-gnueabi-g++
QMAKE_LINK_SHLIB        = arm-none-linux-gnueabi-g++

QMAKE_AR                   = arm-none-linux-gnueabi-ar cqs
QMAKE_OBJCOPY      = arm-none-linux-gnueabi-objcopy
QMAKE_STRIP             = arm-none-linux-gnueabi-strip

4.(如有需要,需修改g++.conf文件)
修改文件: /usr/local/qt-4.7.3-linux-arm/mkspecs/common/g++.conf

# 设置使用ARM高级特性的编译标志:
#
QMAKE_CFLAGS_RELEASE += -O2 -march=armv7-a -mtune=cortex-a9 -mfloat-abi=softfp

5.配置Qt编译选项

进入Qt解压目录,执行如下命令:
./configure -prefix /usr/local/qt-4.7.3-linux-arm-install -embedded arm -host-little-endian -no-cups -no-3dnow -nomake examples -nomake demos -nomake docs -xplatform /qws/linux-arm-g++

6.执行 make 命令;
该步骤大致需要2~3个小时

7.执行 make install 命令;

8.修改用户环境变量
export ARMQTDIR=/usr/local/qt-4.7.3-linux-arm-install
export PATH=$ARMQTDIR/bin:$PATH
export MANPATH=$ARMQTDIR/man:$MANPATH
export LD_LIBRARY_PATH=$ARMQTDIR/lib:$LD_LIBRARY_PATH

9.测试 ARM 版 QT 是否安装并配置成功:
a. 执行:qmake -v
打印以下对应信息:
QMake version 2.01a
Using Qt version 4.7.3 in /usr/local/qt-4.7.3-linux-arm-install/lib
b. 执行:which qmake
打印以下对应信息:
/usr/local/qt-4.7.3-linux-arm-install/bin/qmake

c. 编写一个简单的测试程序,文件名为hello.cpp,进入该文件目录,进行工程编译,看是否能正确通编译

hello.cpp源码:
#include <QApplication>
#include <QDebug>
int main(int argc,char *argv[])
{
qDebug("Hello, welcome to Qt world!");
return 0;
}

顺序执行以下操作:
@1. 执行:qmake -project hello1.cpp
生成 hello1.pro 工程文件
@2. 执行:qmake hello1.pro
生成 Makefile 文件
@3. 执行:make
生成 hello.o, hello 文件

如果执行@2步骤时出现以下错误:
QMAKESPEC has not been set, so configuration cannot be deduced.
Error processing project file: hello1.pro
则是 QMAKESPEC 变量没有设置好,执行:
export QMAKESPEC=/usr/local/qt-4.7.3-linux-arm-install/mkspecs/qws/linux-arm-g++

如果以上对应的信息都能正确打印,说明 ARM 版 QT 安装并配置成功,大功告成,可以你的ARM版QT之旅了!

友情提示:
在以上所有过程中,请务必注意相关路径,及环境变量的配置,另外,请根据自己的路径对相应部分做修改。